Documents.
Templates, AI digitizing, fillable forms, and sharing with clients.
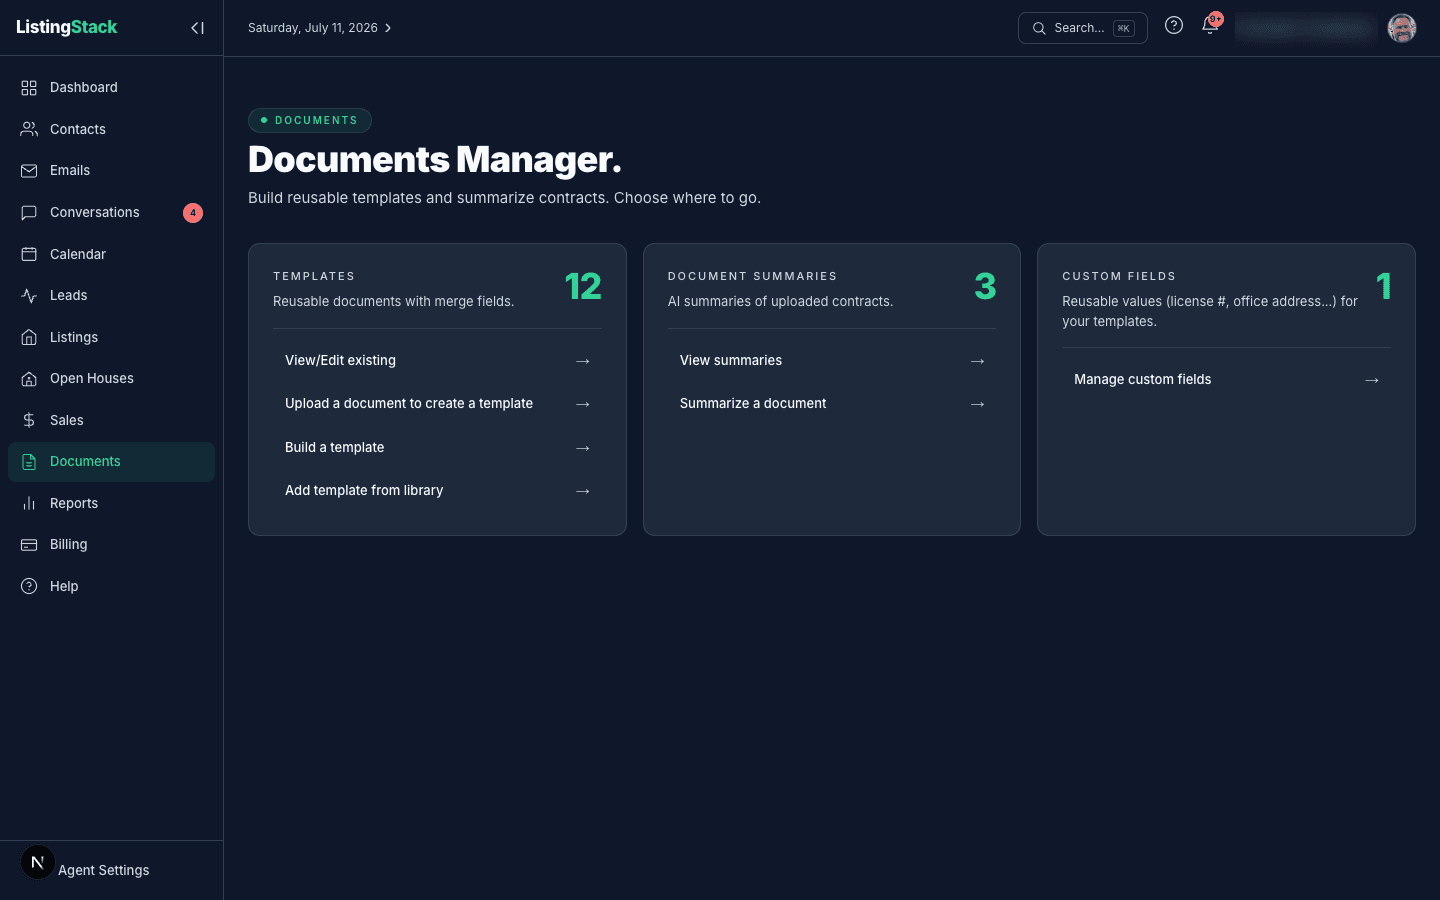
Documents is the hub for everything paperwork: reusable templates with merge fields, org-wide custom fields you can drop into any template, and AI document summaries of contracts you upload. All three are shared across your whole org, not tied to one sale.
Reusable custom fields
Custom Fields(under Documents) is where you save values that are true for your whole org but aren't part of any sale or listing — a license number, your office address, a standard disclosure line. Give a field a name and a value, and it's available in every template as {{custom.your_field}}. When you generate a document, custom-field tokens fill in automatically alongside the regular merge fields — no per-document typing. You can also create a new custom field on the fly from the template editor's Field Resolver (below) instead of visiting the settings page first.
Building a template
There are three ways to add a template to your library:
- From scratch — the template editor is a plain-text/Markdown body with two insert dropdowns above it: Form field ▾, which drops in a fillable blank (date, number, or select) or a structure snippet (table, signature block, notice box); and Merge field ▾, which drops in a CRM merge token — including any custom fields you've saved. Type merge tokens directly as
{{contact.first_name}}, or use unicode checkbox glyphs (☐ / ☑) for plain yes/no marks in the text. - Upload a document to create a template— hand it a PDF, JPG, or PNG of your own blank, broker-approved form. AI transcribes it into an editable merge-field template, matching blanks against both standard merge fields and your org's custom fields; any blank it can't confidently map becomes a
{{TODO: …}}marker flagged in the editor so you can resolve it before saving. You must check a box confirming you've reviewed the transcription against the original — it's AI output, not a guarantee. - Add from the library— pick a ready-made standard template (organized by category) and it's copied into your org to customize.
A blank can also declare its own input type by tagging the label: [date], [number], or [select: Option 1, Option 2] — for example {{FIELD: closing date [date]}}. Everything else defaults to a plain text field.
The editor also keeps a running Field Resolver below the body: every unresolved {{TODO}}blank shows up in an amber "Unresolved fields" to-do list, each with one-click actions — Jump to it in the body, map it to a Merge field, hard-code it as plain Text, create a new Custom field from it on the spot, or mark it Fillable (left for whoever fills out the document later). A Next ▸button cycles you through the remaining blanks. Once you mark one fillable, it moves out of the amber to-do list into a calmer "Fillable fields" list below it.
Every saved template also has a Previewlink (from the templates list) that renders the finished document with no contact, listing, or sale needed — any merge token that isn't filled just shows as a placeholder chip, and any remaining {{TODO}}markers show up in amber, linking straight back into the editor to resolve. An "Edit template" link at the top of the preview takes you there directly.
Generating a document for a sale
Generate a template against a sale (from the sale's document checklist, or the general Generate documentbutton on a sale) and every recognized merge token — contact name and address, listing address/price/beds/baths, sale price/commission/ close dates, your agent name and site — fills in automatically from that sale's data.
Any remaining blanks become a fillable form: typed input fields (text, date, number, or a dropdown for [select] tokens) laid directly over the document. From there you can:
- Savea named draft — a sale can hold multiple saved drafts of the same template (useful for redrafting an offer), each shown on the sale's Saved forms card where you can reopen, duplicate, rename, or delete it.
- Print the filled document as-is.
- Send to client — emails a cover note plus a read-only link at
/d/<token>that renders the finished document for the recipient to view or print. No account or login is required on the other end.
Saving a draft requires a sale or a listing behind the document — documents generated from just a contact can still be filled, printed, and sent, they just aren't saved as named drafts.
Generating a document for a listing
A listing's detail page can generate documents too — from the Documents card's Actions ▾ menu (below), separate from generating against a sale. Pick a template and you land straight in the fillable editor with the listing, agent, and agency merge fields already filled in. The result is saved as a generated document on that listing — reopenable any time — with a status of Draft, Sent for signature, or Executed that you update as it moves through your process. You can rename or delete a generated document from that list.
Until you've generated a listing agreement and uploaded the signed copy, the listing page shows a "No signed listing agreement on file yet" banner as a reminder — it clears once you upload the executed copy and flag it as the signed agreement.
The Documents card on contacts, leads, and listings
Contact, lead, and listing detail pages share one Documentscard: a single list of everything paperwork for that record — your uploads and their AI summaries together, newest first. The card's Actions ▾ menu has three entries:
- Upload a document— a title plus an optional file (PDF, DOC/DOCX, JPG, PNG, or HEIC, up to 25MB). On a listing, a checkbox lets you flag the upload as the signed listing agreement. Click a row's file name to download it; Remove deletes the row.
- Summarize a document — the standalone upload-and-summarize flow (below), pre-linked to this record.
- Generate a document— pick a template and land directly in the fillable editor with this record already attached: from a contact or lead, the contact's merge fields are pre-filled; from a listing, the listing's are. No re-attaching the person you just came from.
Every uploaded doc row also has its own Summarize button — click it and the AI reads the file (this can take up to a minute for longer documents); when it finishes, the row shows a Summary ✓ link straight to the result. If summarization fails, the button comes back so you can retry, and a failed standalone summary is labeled honestly rather than hidden. Back links throughout the flow return you to the contact, lead, or listing you started from.
Document summaries
Upload any contract or document (PDF, DOCX, JPG, or PNG, up to 25MB) from Summarize a documentand ListingStack generates an AI summary, keeping the original file alongside it. Summaries linked to a contact, lead, or listing appear in that record's Documents card; a sale's summaries live on its own Document summaries card, which also lets you attach a summary you already created elsewhere instead of duplicating the upload.
No built-in e-signature
ListingStack doesn't collect signatures itself. Every document flow ends at print or the read-only share link — route the file to your own e-signature provider (DocuSign, Dotloop, etc.) for anything that needs a legally binding signature.
TODO marker and proofread the transcription against your original before you rely on it for a real transaction.